Sunday, June 26, 2011

Tomato and spinach curry


It's not very often that I'm organised and proactive enough to make meals ahead of time. But today, during my kitchen marathon, I made a delicious curry and put it away to be eaten one night later this week.

The beauty of curries is that with time, the flavours develop and intensify, so I'm expecting that come tomorrow or Tuesday night when it's time to heat it up for dinner, this tomato and spinach curry will be even tastier than the spoonful I tried as it simmered on the stove this afternoon.

This dish literally took no time to make - it's the perfect meal to throw together on a wintery weeknight.

Tomato and spinach curry
Serves 4

1 white onion, finely chopped
2 garlic cloves, finely chopped
1 tsp grated fresh ginger
1 tbsp light olive oil
2 tbsp mild red curry paste
2 cups fresh tomatoes, finely chopped (or a 400g tin)
2 cups pre-soaked and cooked chickpeas (or a 400g tin)
500g fresh spinach, stalks removed and leaves chopped
a bunch of fresh coriander leaves, chopped


Saute the onion, garlic and ginger in a frying pan over high heat with the olive oil, until golden. Add the curry paste and stir-fry for two minutes, or until aromatic.

Stir in the tomatoes, 250ml cold water and the chickpeas. Bring to the boil, then reduce the heat to a medium simmer and cook, uncovered for 10 minutes. Stir in the spinach and cook until just wilted.


Stir in the coriander and serve.


Miso soup and fresh rice paper rolls

Lately, our weekends have been busy and full, with people visiting and people to visit.
I've been yearning for the opportunity to just stop for a day, relax and regroup - and I find that the best way to do that is in the kitchen.

Knowing that I would have this precious Sunday all to myself, with no agenda, I sat down last night and planned my kitchen marathon. First on my list was homemade vegetable stock, followed by a new batch of masala chai and a curry. I then spent a few hours flicking through my favourite cookbooks and selected a couple of new recipes to bring to life the next day.
Craving some Asian inspired meals, I added to my list a simple menu of miso soup and fresh rice paper rolls.

This morning, after awaking from a much-needed sleep in, I headed off to stock up on ingredients before settling into my sunlit kitchen for some therapy.

After only a few minutes of chopping, slicing and stirring, I found my rhythm, along with a peaceful sense of relaxation that has been missing for the past few weeks.

I've loved miso soup ever since tasting it for the first time in Japan, so I couldn't wait to mix up my own pot of the nourishing broth. The warm, saltiness of it is delicious, although its richness means it's only tolerable in small bowlfuls. It's the perfect accompaniment to a feast of sushi and green tea. While it's high in sodium, the miso paste is full of hardworking living enzymes, minerals, vitamins and other little goodies.


The broth that I adapted from Janella Purcell's Eating for the Seasons is so fast and simple to make and can easily be reheated and served the next day, or the next. It's also the kind of soup that can be varied in any way, depending on what ingredients you have on hand, or how hungry you are.

Hearty Miso Soup
Serves 4

1 tbsp olive oil
1 leek, white party only, sliced
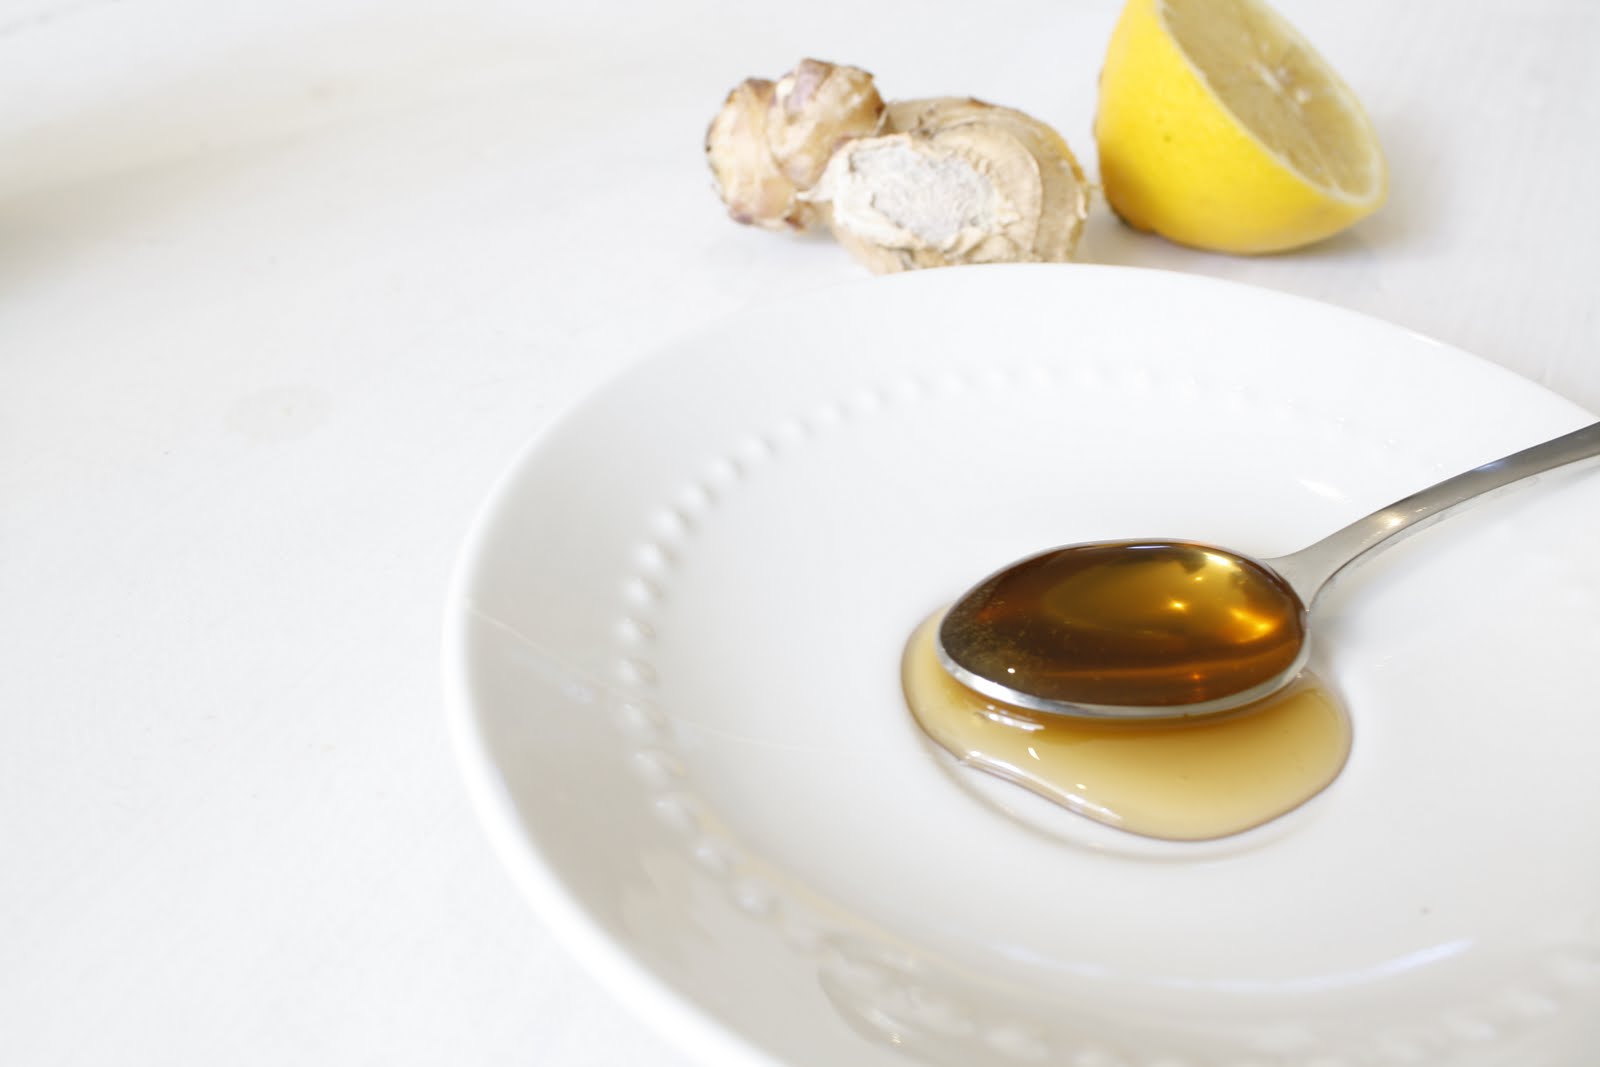
1 tbsp ginger, grated
1/2 buch coriander, stems and leaves chopped seperately
2 litres water
2 sachets dashi
4 dried shitake mushrooms
1/2 cup miso paste
1 cup silken tofu, cubed
1 tsp sesame oil
2 tbsp spring onions, finely sliced
1/2 sheet nori, shredded
2 bundles of bean thread vermicelli (optional)


Saute the leek, ginger and coriander stems in the olive oil until soft. Add the water, dashi and mushrooms. Bring to the boil and simmer until the mushrooms are soft.

Turn off the heat. Stir through the miso paste, but do not boil - boiling kills the live enzymes in the miso. To serve, divide the tofu and vermicelli between bowls then pour over the broth. The noodles should soften after a minute or so. Drizzle over a few drops of sesame oil then finish with finely sliced spring onions, coriander leaves and nori.

The second dish I made, also from Eating for the Seasons, is probably more fitting for Summer or Spring - fresh, crunchy and cool - but I can't help but love a good rice paper roll, regardless of the weather. Like the miso soup, this dish can also be tweaked depending on the ingredients available.


Fresh Rice Paper Rolls
Serves 4

2 small packets of bean thread vermicelli
1/2 cup tamari
1/2 tsp sesame oil
1 packet small round rice paper wrappers
2 sheets nori, cut into thick matchsticks
1 large carrot, julienned
1 cucumber, skin on and julienned
2 small avocados, sliced
3 cups of pre-marinated, firm tofu (instructions below)
1 bunch coriander leaves


To marinate the tofu, cut it into matchsticks and place in a wok with 2 tbsp tamari and 1 tsp of sesami oil. Add enough water to just cover the tofu. Bring to the boil then lower heat to a simmer. Continue to simmer until the liquid has absorbed, turning once. The tofu will turn dark brown. Sprinkle with sesame seeds.


Place the noodles in a bowl and cover with hot water. They will soften in a few minutes.

Meanwhile, combine the Tamari and sesame oil and have them ready to serve in a dipping bowl.
Strain the noodles and place on a large platter, along with the tofu and remaining ingredients.
Fill a large bowl with boiling water.

To serve, dip one rice paper wrapper in the water for about 15 seconds then gently remove onto a plate. Place a piece of nori in the centre of the rice paper, along with some carrot, cucumber and avocado and top with tofu and noodles. Sprinkle with coriander.

Roll up by folding over the end closest to you, tucking in the outer edges and continuing to roll. 
Eat with dipping sauce.


Vegetable stock


Out of pure convenience, I've always used pre-made, pre-packaged stock from the supermarket to boost the flavour of my soups and risottos. Without giving much thought to its actual contents, it always seemed to be so easy to empty the liquid stock straight into the pot. But as I've continued to educate myself about packaged foods, I've learned that those cardboard cartons are more often than not, full of excessive amounts of sugar and salt.

Reluctant to boil up a pot of perfectly good vegetables for the sake of producing my own homemade stock, I've gradually been building up a stockpile of waste from the veges I've been preparing for dinner over the past few weeks. Instead of tossing them in the rubbish or turning them into compost, I've been saving carrot tops and tails, wilted parsley and silverbeet, capsicum cores, snowpea tips, eggplant that's a-bit-too-soft-but-not-yet-mouldy, vegetable peel, onion and garlic skins in a designated container in my freezer. I even decided to throw in the unused, icicle-covered bags of frozen veges that have been buried in the bottom of my freezer since last year. 


Yesterday, the container reached full capacity, so I decided it was time to turn it into my own fresh and healthy homemade stock.

Homemade Vegetable Stock

It's as simple as throwing your collection of vegetable waste into a large pot, covering it with water and bringing to boil, before simmering for a further 45 minutes.

Season with cracked pepper and a pinch of salt.

Pour the liquid from the pot through a fine mesh strainer, reserving the liquid.

Once the liquid has cooled, divide it into smaller containers (I used 700ml size containers) and stack them in the freezer.

Now you can throw out the mushy, boiled vegetable waste. Its job is done.

Delicious homemade vegetable stock, sugar, preservative and salt free. Your soup and your body won't regret it.


Monday, June 13, 2011

Kale chips


I've been looking all over for kale so that I could make these baked chips. It's one hard vegetable to come by in these parts, so I was thrilled to stumble across a basketful at the farmers market recently. I picked out a few bunches of both the purple and green variety and when I pulled them out of my grocery bag at home, I  was pleased to discover this little fellow hiding amongst the leaves.


At least I know that the little guy was only hanging around because the organic kale wasn't doused in pesticides - which means if it's good enough for him, it's great for me.

These chips are probably not the healthiest way to enjoy the leafy green, but it's definitely the tastiest and better than snacking on a packet of potato chips.


The chips are best eaten fresh out of the oven, when the crispness is at its peak. I tweaked the original recipe by using lemon juice, as opposed to zest, and added a sprinkle of paprika.

Kale chips

A bunch of kale
A splash of extra virgin olive oil
A squeeze of lemon juice
Salt and pepper 
Paprika


Preheat the over to 130 degrees celsius
Remove the thick stalk-ends from the kale and chop the leaves into chip-size pieces. 
In a bowl, toss the kale leaves in the olive oil and lemon juice.
Spread out onto a baking tray covered in baking paper, before sprinkling with salt, pepper and paprika.

Bake in the oven for approximately half an hour, until the kale chips are light and crispy - but not burnt.


Thursday, June 9, 2011

No I do not want sugar with that : Lemon, ginger and honey immune booster


Despite diligently taking a vitamin C tablet each morning, a sneaky winter cold dared make its presence known in my body yesterday.  So after spotting a stall that sold hot lemon, ginger and honey drinks at the farmer's market near my work, I decided to give my immune system an extra boost during my lunch break.

Picturing a steaming cup of the healing ingredients in their purest form, I lined up and put in my order. Imagine my disappointment when I noticed the stallholder concocting a drink out of a suspicious combination of purees and concentrates. Apprehensive about the additives he was sneaking into my drink, I questioned the man about the sugar content - he admitted there was "just a liiiiitttle sugar in the lemon concentrate, madam."

Fibber.

The first swig of my potion was overwhelmingly sweet. So sickeningly sweet that the tanginess of the lemon and the spiciness of the ginger was completely overridden by the sugar. 
Don't ask me why he bothered with the honey.

So tonight, partly just to spite the stallholder, partly because I was still feeling under the weather, and partly because today was Brisbane's coldest day so far this year,  I made my own additive-free version of the steaming immune booster.

Lemon, ginger and honey immune booster
Makes one mugful

Fresh juice of one small lemon
1 heaped tbsp grated fresh ginger
2 cloves
2 cups water
2 tsp honey


In a small saucepan over a high heat, bring the water, lemon juice, cloves and ginger to boil. 
Reduce to a low heat and simmer for 5 minutes.
Pour into a mug, using a strainer.
Stir in the honey.
Sip and enjoy under a blanket with socks and warm pajamas.


See? It's easier to just make most things yourself - at least you can control what goes into it and avoid compromising the integrity of what can be powerful, healing ingredients.


Quinoa pilaf with brussel sprouts and sweet potatoes


Do you like brussel sprouts?
Probably not, because no one does. 
Unless of course, you're my husband - who, perplexingly, lists them as his favourite vegetable.

Anyway, as part of my conscious effort to cook more of the foods Mitch loves and I despise, I decided to fight my gag reflex and incorporate some of the bitter-tasting bastards into last night's dinner. 
Ugh.

And just like the mushroom episode, I was somewhat pleasantly surprised. Yes, it probably had a lot to do with masking their shittiness with olive oil, pepper and salt before roasting and burying them in quinoa and a handful of other tasty ingredients. 
But still, I chewed and swallowed them and they didn't even do a u-turn back up my esophagus. 
I ate every last morsel of the delicious meal - I might have even gone back for seconds.

So if you usually baulk at the sight and taste of brussel sprouts like I do, trust me on this one and try the below recipe, which I adapted from A Chow Life. And if you still hate them after that, you'll at least be rewarded with a high dose of vitamin C, antioxidants and fiber for your pain and suffering.

I tweaked the original recipe by skipping the bacon and adding a couple of teaspoons of wholegrain mustard.


Quinoa pilaf with brussel sprouts and sweet potatoes
Serves 4

1 medium onion, cut in half and sliced thin
1 cup quinoa
1 1/2 cup of water
1 tsp sea salt
Cracked pepper
1 medium sweet potato cut into small cubes
600g brussel sprouts, sliced in halves
2 tbs olive oil
2 tsp wholegrain mustard
1 garlic clove, crushed
shallots, sliced, to garnish


In a medium saucepan with a tight fitting lid, cook the onion in 1 tbsp of olive oil until soft. Stir through the mustard. Add the quinoa and toss until mixed well through the onion and the grains are slightly toasted. Add the water and half of the salt, bring to the boil, stir once, cover, reduce to low and let cook undisturbed until the water is absorbed and the quinoa is tender - about 15 minutes.

While the quinoa is cooking, toss the sweet potatoes and sprouts with the remaining olive oil and salt and spread in a single layer on a baking sheet. Bake until the potatoes and sprouts begin to brown and the potatoes are tender.

When the quinoa is cooked, stir in the potatoes and sprouts. Top with the fresh shallots and cracked pepper.


Sunday, June 5, 2011

Homemade masala chai


I remember the first time I discovered chai. I was living in London and my boss, Arun, would sip a cup every morning as he logged on to his computer and checked his emails and later on in the day as he darted between meetings. After weeks of breathing in the mysterious spicy cinnamon scent that floated across to my desk, curiosity got the better of me and I demanded to know what he was drinking.

He poured me a steaming cupful of what I learned was masala chai, or spiced tea - a traditional milky drink from his home country, India. 
He explained that it was made from a mixture of Indian spices and herbs.

Ever since, I've been hooked on chai - whether it's a frothy, fluffy cupful of the coffee franchise syrup-based latte variety, or a tea bag version dunked in a cup of boiling water.

Now that I'm somewhat dubious about the additives that go into the coffee shop versions, I've decided to start buying them just as a treat - and make my own looseleaf chai.

I browsed the internet for a recipe and discovered there were a variety of ways to make it, but soon narrowed down a list of the most common ingredients: cinnamon, ginger, pepper, cardamon, cloves and black tea leaves.

Now that I know exactly what goes into my own chai - I can drink it, guilt free! 
And, in my opinion it's the freshest, tastiest chai I've ever had.


This recipe produced a deliciously spicy but sweet concoction. The aroma that filled the house as soon as I started smashing the spices in my mortar and pestle was absolutely amazing. 
It wasn't until I had made the below recipe that I realised it yielded about six small cupfuls - so I ended up drinking a whole teapotful over the course of the day.

Afterwards, with a full, warm belly, I used the leftover spices to make more of the mixture and filled a small storage jar, so that I don't have to make it from scratch every time I'm craving a cup of the good stuff.


Homemade masala chai
Makes enough for about 6 teacups or one teapot

2 cinnamon sticks
1 tsp ground ginger
10 whole cloves
1 vanilla pod
2 tsp whole black peppercorns
6 cardamon pods
1 tbsp good quality looseleaf ceylon tea
2 cups milk (I used soy)
6 cups cold water
honey

Use a mortar and pestle to smash and grind the cinnamon, cloves, peppercorns, cardamon and vanilla. You may need to cut up the vanilla pod with some scissors or a knife first. Add in the ginger and mix well.


 Mix the spices with the water in a saucepan and bring to the boil over the stove. 
Reduce to a medium heat and stir in the tea leaves and milk. Simmer for five minutes.

Divide between teacups using a tea strainer or pour into a teapot.

Sweeten with a teaspoon of honey per cup.

Divine.

Note: To save time, you can simply steep the required amount in boiling water, and then add milk as you  would a normal cup of tea. The longer you steep it, the more intense the flavour. 
This tea is also delicious without milk.